Learn more


Make 3D Cardboard Sculpture with Makedo
Spark your child’s imagination (and yours, too!) by diving into creating a 3D sculpture with cardboard and Makedo. Our tools make connecting cardboard a breeze. You can easily connect cardboard without messy glue or frustrating tape, so you and your family can focus on tinkering, testing, and transforming your cardboard art ideas as you go.

Why Make Cardboard Art?
Why choose cardboard for your next creative adventure? With Makedo, upcycling delivery boxes isn’t just a rainy-day fix, it’s a launchpad for big ideas, bold learning, and hands-on fun for everyone in the family.
Cardboard construction with Makedo:
- STEM & Engineering Superpowers: Translating a 2D idea into a 3D structure forces kids to think like architects. As they build, they crack the code on balance, stability, and creative problem-solving.
- Sustainable and Budget-Friendly: Forget pricey craft kits. Cardboard art inspires kids to see treasure in everyday “trash,” championing eco-friendly creativity that’s easy on the wallet and the planet.
- Encourage Spatial Awareness: Folding, rolling, and connecting cardboard together flexes fine motor skills and spatial smarts, turning wild ideas into real-life creations.
- Creativity Without Fear: Cardboard is the ultimate do-over material! Made a mistake? Grab another scrap and dive back in because every build is a win with Makedo.
Phase 1: Gather crafting supplies
Before you roll up your sleeves and start building, gather your family cardboard crew and some supplies. The adventure begins with a pile of possibilities!
- Makedo Tools: Grab the ultimate cardboard cutting tool, the Makedo Safe-Saw, and the Makedo Scru-Driver with a handful of Scru and Scru+ to connect cardboard easily. Just twist, connect, and create. No need for messy glue or tape!
- Cardboard: Hunt for cardboard in all shapes, sizes, and colours. The more variety, the better! Pro tip: Grocery store fruit boxes are treasure troves of vibrant patterns, colours, and quirky details.
- Inspiration: Brainstorm as a family what to build. Do you want to build a cardboard robot? An abstract cardboard masterpiece? Or maybe even a fire-breathing cardboard dragon!


Need cardboard sculpture ideas? Check out these resources:
Phase 2: Master 3D Techniques
To make a cardboard sculpture 3-dimensional, you and your child need to master some cardboard engineering techniques. Here are our favourite 3D cardboard sculpture techniques for beginners to help you shape, strengthen, and wow with every build:
Scoring and Folding: Learn to Master the Fold-Roller
- The Makedo Fold-Roller is your secret weapon for crisp folds and cool curves! Roll it with firm pressure to glide the toothed wheel across the cardboard surface to mark a perfect perforated line. Your cardboard will be prepped for folding, bending, or tracing out your next big idea.
Master connections: Flanges, Tabs, and Patches
- Experiment with tabs, flanges, and patches to create super strong, secure joints and stable builds. Don’t be afraid to tinker, as every cardboard connection is a new chance to learn and invent!
Truss the Triangle: Stronger Structures
- Triangles are the strongest shape in construction and your secret cardboard superpower! Use triangular braces to keep any sculpture standing - no wobbles here!
- Want shelf-like strength? Fold triangles into your design to add dimension and supercharge your upcycled art.

Phase 3: Step-by-Step Construction
Step 1: Build the Base
- Every epic cardboard sculpture needs a strong, rock-solid base so that it can bear weight and not sag. Use heavy-duty boxes near the base to help your structure stand tall.
Step 2: Cut, Fold, Connect
- When attaching pieces, use the pointed end of the Makedo tool to punch a hole through all the layers of cardboard you want to connect. Then twist in a Scru with the Scru-Driver and watch your cardboard pieces come together like magic.
Step 3: Add Dimensions and 3D Features
- With your base ready, it’s time to go big and start building some depth to make your build pop in three dimensions!
- Stack on smaller boxes, cut and fold cardboard to make new 3-dimensional shapes, and watch your collaborative sculpture grow more awesome with each new layer.
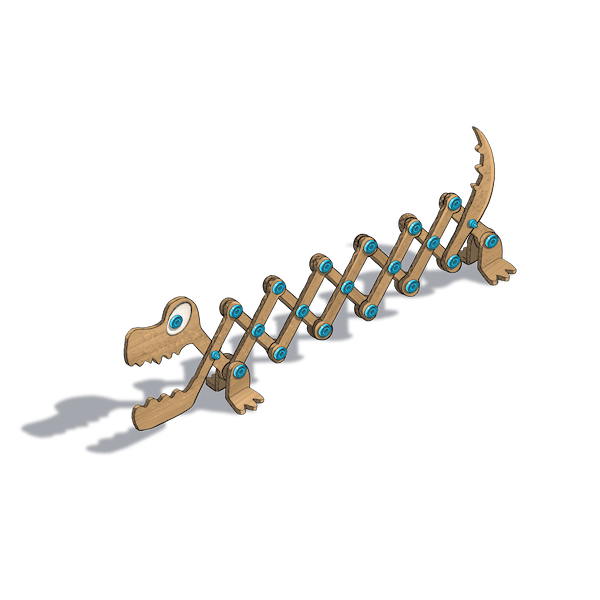
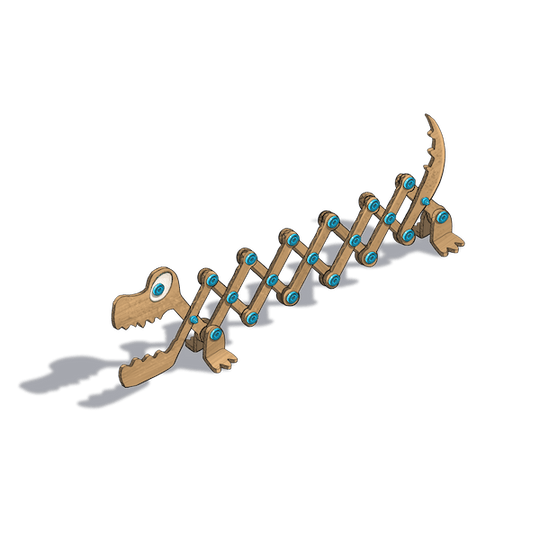
- Want to add movement? Incorporate a Makedo Roto-Ring to your build! Think spinning arms on a pivot point, wagging tails, or surprise features.
Step 4: Finesse the Final Touches
- Look at your sculpture from all angles. Is it lacking depth, motion, or texture anywhere? Add smaller cardboard scraps pieces for texture, or incorporate the Roto-Ring or Makedo Spin-Hinge to add that extra wow-factor.
- Remember, with Makedo, there are no mistakes, just more chances to create your own fun! Makedo is reusable and sustainable. If you don't like how a part looks, just untwist the Scru, reposition the part, and connect again!