En savoir plus


How do you organise your Makedo?


Summary ✨
This Makedo blog post provides parents and educators with practical, community-tested storage and organisation strategies for Makedo tools and cardboard materials. The guide aims to reduce cleanup time, minimise clutter, and foster independent creating in both home environments and school makerspaces.
Our organisation tips will help you answer:
How do teachers organise Makedo tools in a STEM classroom?
What are the best ways to store large amounts of cardboard for kids' crafts?
How can I manage a clean makerspace or creative corner at home?
If you've ever reached for a Safe-Saw only to find it buried under a pile of cardboard scraps, you're not alone. Keeping Makedo tools organised and accessible for little makers is a real-world challenge many parents and teachers face.
That’s exactly why we put this guide together: to help you create a space that’s both tidy and inspiring. Whether you’re managing a bustling classroom or a creative corner at home, we’ve gathered practical tips and real ideas from the Makedo community to help you set up a system that works for everyone.
So you can spend less time searching and more time making.
You've got the tools, the cardboard, and the imagination…but where does it all go when you are done creating? Finding a home for your Makedo tools and all that cardboard can feel like a mission in itself. The good news: with a few simple strategies, you can create a space that's tidy, organised, and ready for hands-on creativity whenever inspiration strikes. These solutions are designed to help parents keep the mess of making manageable and to give teachers more time to focus on building, not cleaning up.
Designate a single box or build your own Trusty Toolbox where all Makedo tools and connectors live. Keep it at kid height, so little makers can grab what they need (and put it back) all on their own. When a project is complete, everything goes back in the Go-Box.
Simple as that.

Cardboard accumulates fast, so give it a home before it takes over. A tall, narrow box tucked behind a door, in a corner, or inside a closet keeps your stash out of sight but within reach. Before storing, take a moment to flatten pieces and sort out anything too small to use; your future self will thank you. Bethany Jones shared instructions for making a Cardboard Corral, and we love this sign on Mrs. Skinner’s version that reminds students that anything smaller than your hand goes in the recycling!

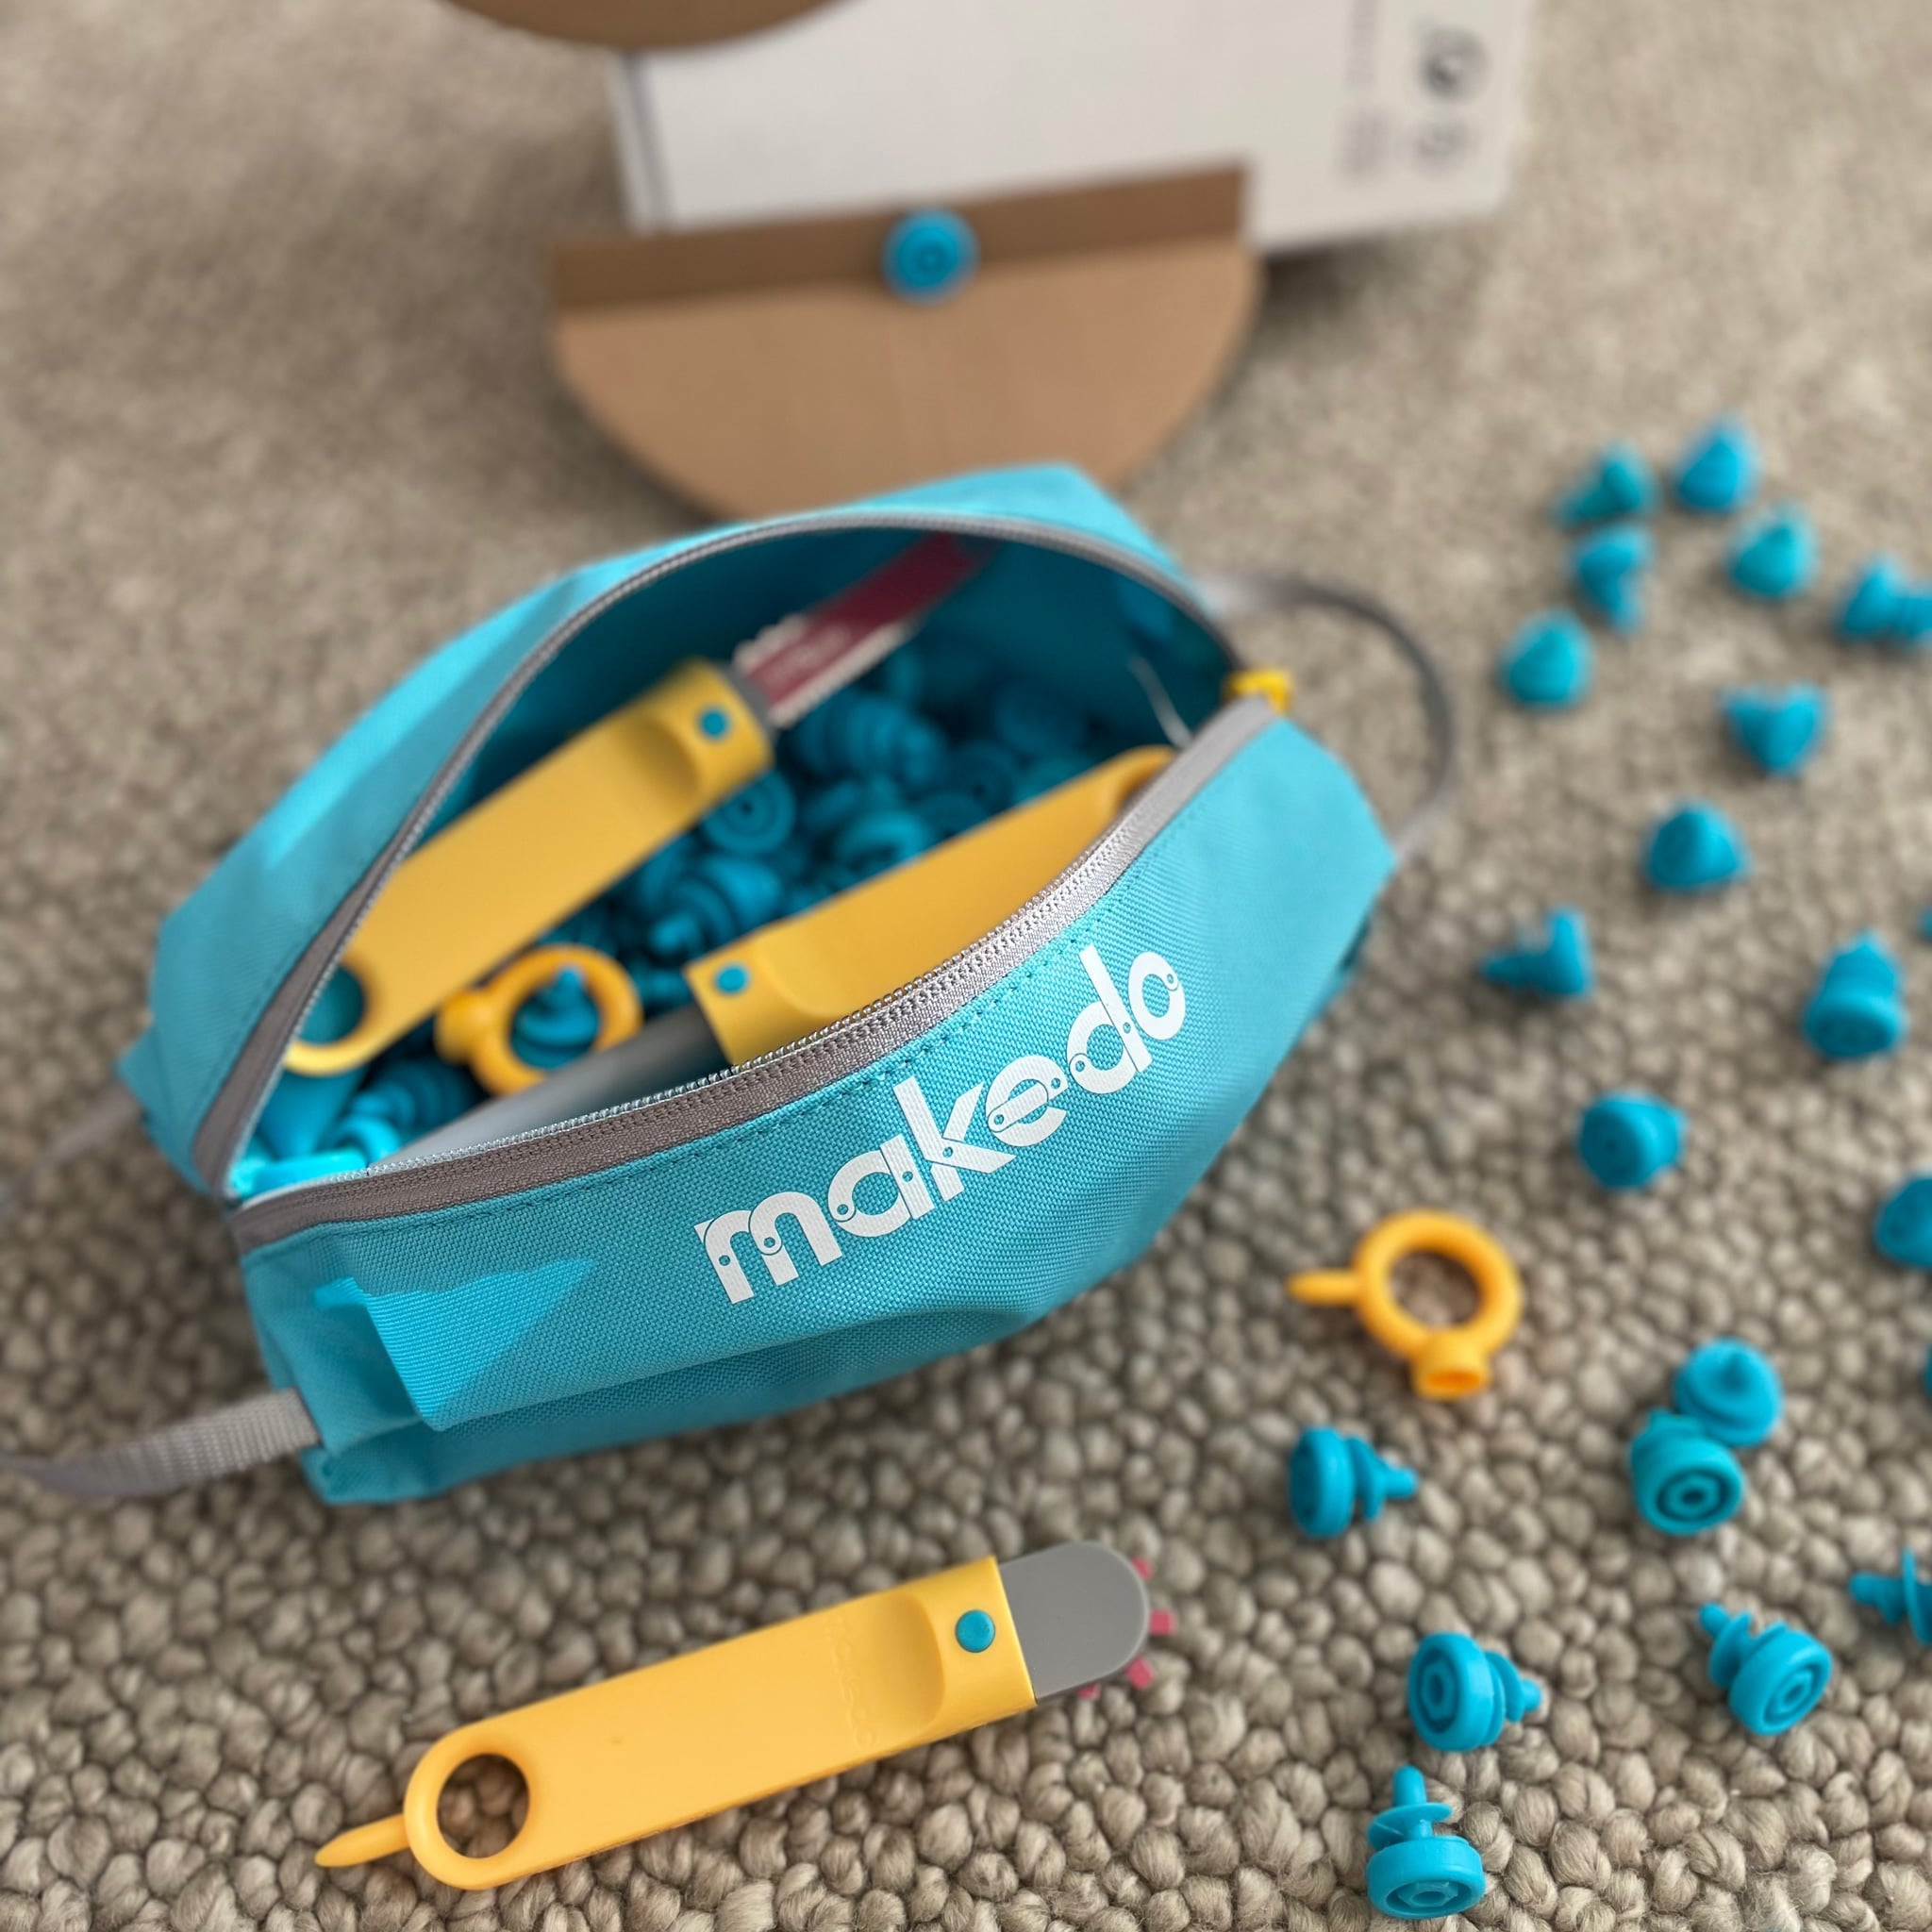
Once your collection grows, a little sorting goes a long way. Keep Safe-Saws, Scrus, and Fold-Rollers in separate small bins or a Makedo Tool-Case. For parents, this means less mess and easier clean-up at the end of a project. For teachers, it saves the frantic mid-project hunt and helps students build independence by always knowing where to look.
Get your kids to help you create a cardboard workstation. Using reclaimed boxes from around the home, build a sturdy work surface that can become a hub of creativity for your little maker. As shown in this example from Maies, you can include storage bins and hooks for tools, to keep their Makedo organised and ready for the next big creative project.
Not every build wraps up in one sitting, and that’s a good thing! Designate a spot (a shelf, a bin, or even a taped-off area on the floor) where unfinished projects can safely live between sessions. It keeps works-in-progress from being mistaken for scrap and ensures any tools left mid-build stay accounted for.

Image thanks to lchurch, HPSD Canada.
Long-term storage is great for keeping things tidy, but when it's time to make, bring the tools to the makers. Many teachers swear by placemats, shallow trays, or small buckets to distribute tools across a workspace so every maker has what they need within arm's reach. If your kit came with a Makedo toolbox, that works perfectly too. Just pull it out at the start of a session and tuck it back when you're done. A little setup at the beginning means fewer interruptions once the building begins.

Jen from Books and Bytes uses shallow trays while students are working. Image shows first-generation Makedo Safe-Saw and Scru-Driver (discontinued).
If you are creating some active storage before a big build session, do a quick count of your Scrus. It is quick and saves the frustration of running out mid-project. Make it a habit and you'll always know when it's time to restock.

We love the way Changemaker Libertad uses cardboard box tops to keep kids organised.
Every makerspace looks a little different, and the best organisational system is the one that works for your kids or students. Whether at home or in the classroom, start simple. Just adding one or two ideas from this guide can make a big difference in how smoothly your future Makedo sessions run. Have more ideas we could share? We'd love to see how you store and set up your Makedo tools!
Share your setup with us on social media and tag us so we can cheer you on.


Changemaker Karyn Bashore’s classroom Makedo organisation.