


Sign up for the Makedo newsletter
Save 10% on your first order and hear about project ideas, new products, special offers, and lots of making tips. Only fun stuff.

Channel childhood nostalgia of playing ‘house’ into a charming cardboard playhouse using our straightforward how-to guide. Not only will your kids enjoy hours of imaginative play in their new home, but you’ll also empower them to turn the ordinary into the extraordinary, by transforming humble cardboard boxes into an architectural cardboard masterpiece (no pressure 😉).
Add some plants to the planter boxes, a house number to the front or paint snow falling from the roof for a winter feel. However you style it, your kids will be saying ‘home sweet (cardboard) home’ in no time.
Happy making!

The bigger, the better! Remove any tape for a cleaner look.

 |
 |
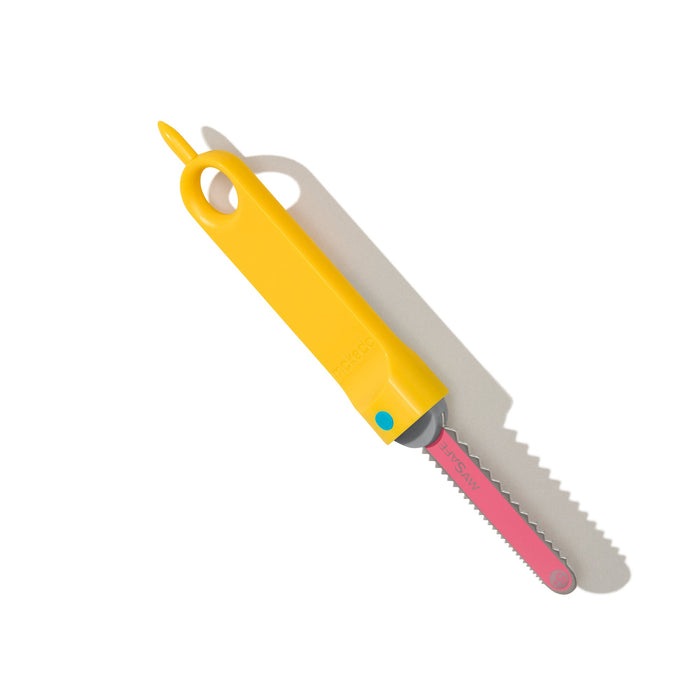
Use your Safe-Saw to remove the two opposing flaps from the top of the box. Cut four rectangular strips from one of the removed flaps, then use your Fold-Roller to score the centre of each strip, flip, and fold in half. Open all four flaps at the base of your box, then use your Scru-Driver and Scrus to attach one stabilising strap to each corner. Consider attaching more straps for greater stability.

 |
 |
Lay the box on its side and use the Fold-Roller to score lengthways along the centre of the two remaining flaps. Stand the box upright and cut along the score lines. Create the remaining roof panels by removing the large flaps of your medium box and creasing lengthways along the centre. Cut one of these flaps along the score to create two panels, then fold the other to create the roof peak.
 |
 |
 |
 |
Connect the roof panels to the top of the box, attaching the roof peak last.
 |
 |
Use your Fold-Roller to mark out a door shape, then use the Safe Saw to cut it out.

 |
 |
Use the spare cardboard from the medium box to cut three door hinges. These could be square, rectangular or triangular (or a mix of all three!). Score and fold through the middle of each hinge, then attach them evenly to one side of the door, before attaching the door to the house.

Score three lines into a rectangular piece of cardboard to create four equal segments. Fold to create a point in the centre of the cardboard, then attach it to your door.

 |
 |
On one side of your box, use your Fold-Roller to create a square window shape with a score in the centre. Cut the two horizontal and central vertical lines, then fold the shutters outwards. You might like to add window panes and shutter latches for extra character.
 |
 |
 |
 |
On a different side of your box, mark out a window shape with a flat base and rounded top. Cut the rounded edges of the window but leave the horizontal edge attached. Fold out your window, then score three horizontal lines into the window piece. Attach the lower flap to the wall of the house to create a ledge.
 |
 |
Cut your small box in half. Attach one half to the internal wall with your Mini-Tool to make a shelf, then attach the other half underneath your opening window as a planter box.
Ta-da! There you have it, your very own cardboard house. All that’s left to do now is move in!


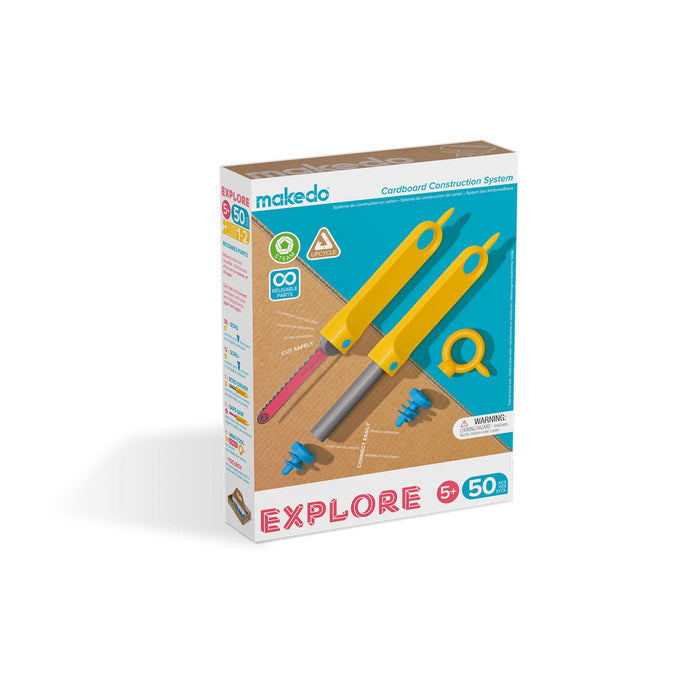
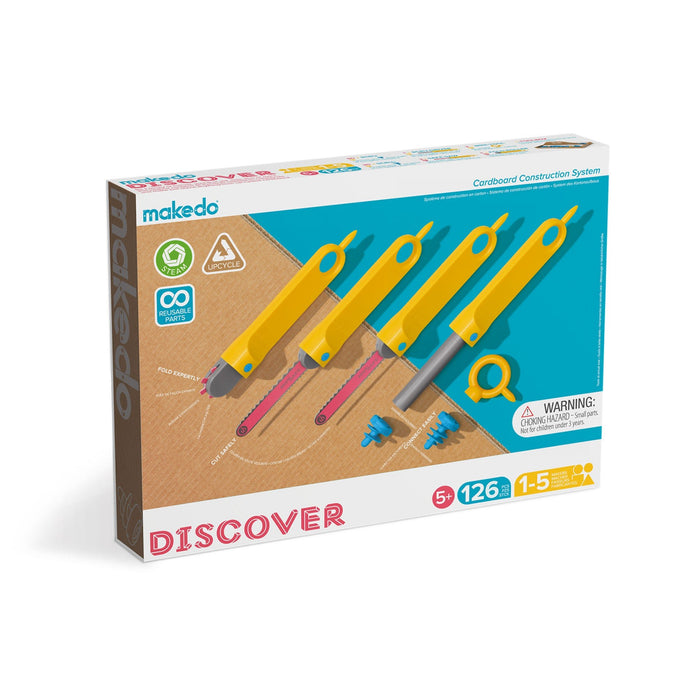
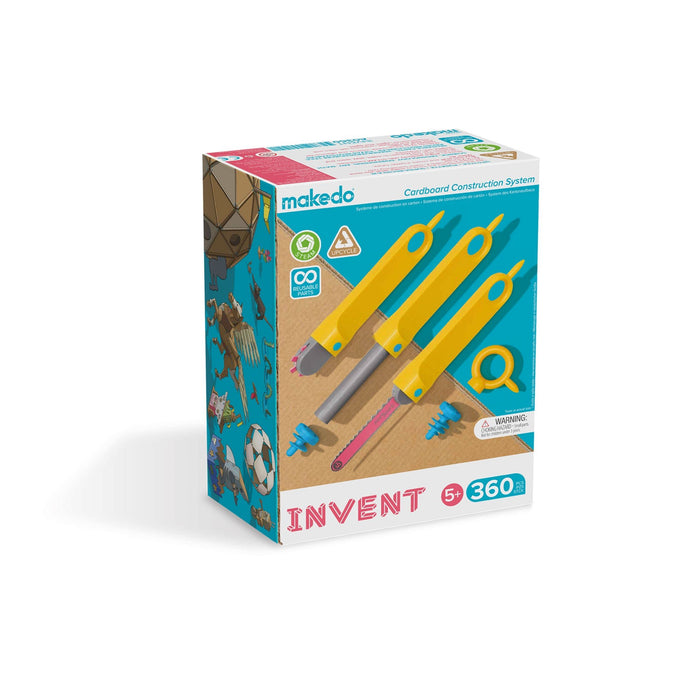
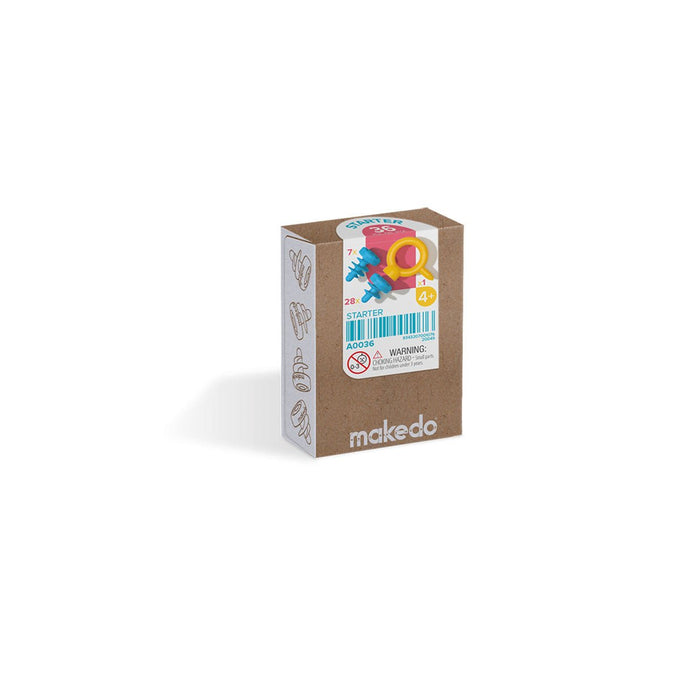
Makedo is a simple to use open-ended system of tools for creative cardboard construction. Build imaginative creations from upcycled (repurposed) everyday cardboard.
Follow us

